
Welcome to our comprehensive guide on DIY retaining wall projects! As Canadian homeowners, we understand the desire to enhance the aesthetics of our outdoor spaces while addressing any landscaping challenges. That’s why we’re excited to share our expert tips with you to help bring your vision to life.
With our guide, planning and building your DIY retaining wall can be a fun and rewarding project. Whether you’re looking to create more usable space, add privacy, or simply enhance the beauty of your yard, we’ve got you covered.
Our step-by-step guide will take you through the planning stages, choosing the right materials, obtaining permits, and building your retaining wall. We’ll also explore design and finish options to add the finishing touches.
So whether you’re an experienced DIYer or a novice, our tips will ensure a successful project. Let’s get started on your DIY retaining wall project today!
Planning Your DIY Retaining Wall Project
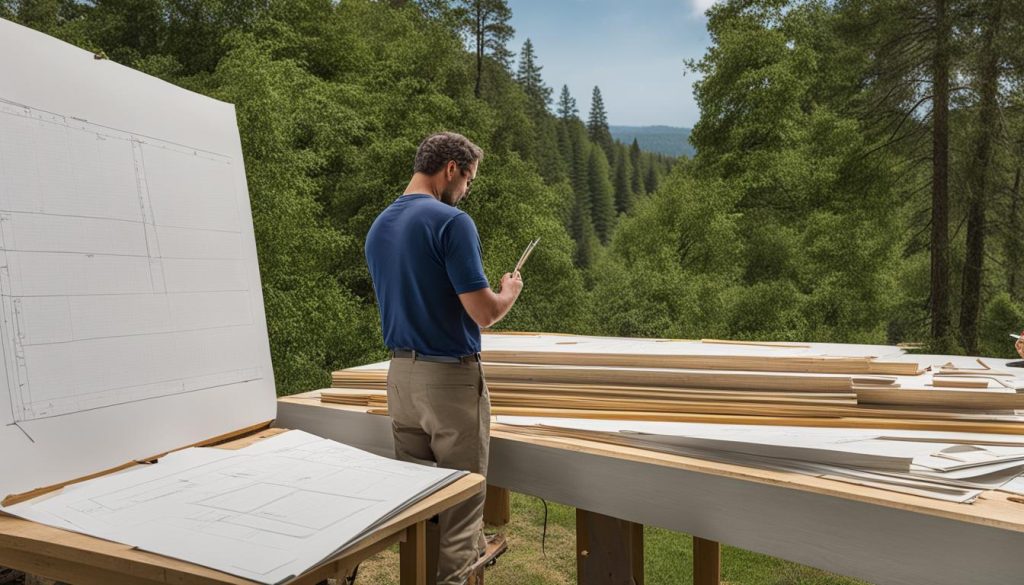
Planning is the key to success when it comes to DIY retaining wall projects. Before you get started, take the time to assess your landscape and determine the materials you will need. Depending on the size and scope of the project, you may also need to obtain permits from your local municipality.
Assess Your Landscape
The first step in planning your DIY retaining wall project is to assess your landscape. Take note of any slopes or uneven terrain that may require a retaining wall to prevent erosion or create a level surface. Consider the height of the wall and the amount of pressure it will need to withstand, as this will determine the type and size of blocks or materials you will need.
Determine Materials Needed
Once you have assessed your landscape, it’s time to determine the materials you will need. Take measurements of the area you plan to build your retaining wall and calculate how many blocks or materials you will need. Remember to account for any drainage needs and any additional features you plan to incorporate, such as seating or planter boxes.
Obtain Necessary Permits
Depending on the size and scope of your DIY retaining wall project, you may need to obtain permits from your local municipality. Check with your city or town hall to see what requirements are necessary and ensure that you have the proper permits and approvals before starting your project.
Choose the Right Location
Choosing the right location for your retaining wall is crucial to its success. Consider the drainage needs of the area and choose a location that will provide adequate support and stability. Avoid building on areas with a high water table or near trees or other structures that may interfere with the construction process.
Consider Factors such as Drainage
Drainage is an important factor to consider when planning your DIY retaining wall project. Proper drainage will prevent water accumulation that can cause damage and undermine the stability of your wall. Consider incorporating drainage pipes or gravel behind the wall to allow for proper drainage and prevent any potential issues down the line.
Building Your DIY Retaining Wall: Step-by-Step Guide
Now that you have completed the planning phase, it’s time to put your plan into action and start building your DIY retaining wall. Follow our step-by-step guide to ensure a successful and long-lasting construction.
Step 1: Prepare the Base
The first step to building your DIY retaining wall is to create a sturdy base. For this, you’ll need to dig a trench along the length of where the wall will be placed. The trench should be at least 18 inches deep and 6-8 inches wide. Once the trench is dug, add a layer of gravel and compact it until it’s level.
Step 2: Level the Ground
After you have created a stable base, it’s time to level the ground where the wall will be constructed. Use a spirit level to ensure the ground is level and flat.
Step 3: Install the First Course of Blocks
It’s time to start building the retaining wall. Begin by laying the first course of blocks on top of the gravel base. Ensure that the blocks are level and secure them using construction adhesive.
Step 4: Create a Sturdy Foundation
Continue building the wall by adding additional courses of blocks. Make sure to stagger the blocks for added stability. As you build, use a rubber mallet to ensure the blocks are firmly in place. Also, add gravel behind the wall as backfill to improve its stability and drainage.
Step 5: Finish the Wall
Once the wall is completed, use caps or coping to finish the top and enhance the appearance of your retaining wall. You can also add a coat of sealer to protect the wall from weather damage and add to its longevity.
Now that you have successfully built your DIY retaining wall, take a step back and admire your hard work. Not only have you enhanced the aesthetics of your outdoor space, but you’ve also added functionality and value to your home.
Enhancing Your Retaining Wall: Design and Finish Options
Now that your retaining wall is complete, it’s time to think about enhancing its appearance. There are many design options to choose from, so let’s explore some ways to make your retaining wall stand out from the rest.
Design Options
One way to enhance your retaining wall is to incorporate decorative elements into the design. Try adding a water feature, such as a fountain or waterfall, to create a calming ambiance in your backyard. You could also consider adding outdoor lighting to brighten up your retaining wall at night, creating an inviting atmosphere.
Another option is to incorporate plants. Create a vertical garden by adding planter boxes to your retaining wall or planting directly into the top of the wall. This will not only add a pop of color but will also help with drainage, as the plants absorb excess water.
If you want to create a more natural look, you could try using natural stone or adding a rock garden. This will give your retaining wall a rustic feel and blend in with the surrounding landscape.
Finish Options
Finish options are also important to consider when enhancing your retaining wall. A sealer will protect the surface from weather damage, preventing the blocks from fading or becoming discolored over time. You can choose between a clear sealer or a tinted one to add color to your retaining wall.
If you want to add texture to your retaining wall, a stone sealer will give it a rough finish, making it look more natural. This type of sealer is perfect for retaining walls made of natural stone or decorative blocks.
For a more polished look, consider adding a coating to your retaining wall. A polyurethane coating will give it a glossy finish, making it stand out and adding a touch of elegance to your backyard.
With these design and finish options, you can turn your retaining wall into a beautiful and functional landscape feature.
Our retaining wall contractors are dedicated to providing excellent quality services at a fair and affordable price.
FAQ
Can I build a DIY retaining wall by myself?
Yes, you can! Building a DIY retaining wall is a manageable project for homeowners. With proper planning, preparation, and following our step-by-step guide, you can successfully construct a retaining wall on your own.
What materials do I need for my DIY retaining wall?
The materials you’ll need for your DIY retaining wall will depend on the design and size of your project. Generally, you’ll require retaining wall blocks, gravel, geotextile fabric, drainage pipe, and suitable backfill material. We recommend consulting with a local supplier for specific material recommendations.
Do I need a permit to build a retaining wall?
Permit requirements for building a retaining wall can vary depending on your location and the height of the wall. It’s essential to check with your local municipality or building department to determine if you need a permit for your project. Obtaining the necessary permits ensures that your retaining wall meets safety and building code regulations.
How do I choose the right location for my retaining wall?
When choosing the location for your retaining wall, consider factors such as the slope of your yard, soil conditions, and drainage. You’ll want to build your wall on stable ground and avoid areas with excessive water buildup. Assess your landscape and consult with an expert if needed to determine the best location for your retaining wall.
How can I enhance the appearance of my retaining wall?
There are various ways to enhance the appearance of your retaining wall. You can add decorative elements such as stone veneers, capstones, or built-in seating. Incorporating plants and landscaping around the wall can also create a visually appealing and cohesive outdoor space. Consider your personal style and the overall design of your landscape when choosing enhancements.
How do I protect and maintain my retaining wall?
To protect and maintain your retaining wall’s longevity, consider applying a suitable sealant or protective coating. Regularly inspect the wall for any signs of damage or erosion and address any issues promptly. Keep the area around the wall clear of debris and perform routine maintenance such as cleaning and resealing as needed.